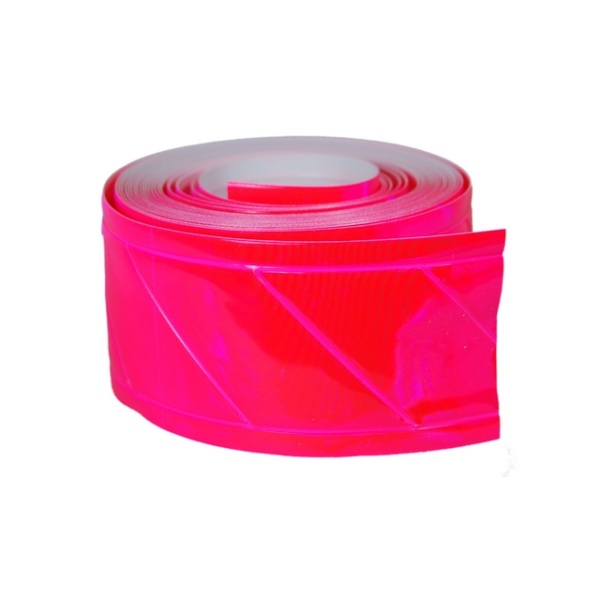
1″ x 45′ 3M 8712 Heat Transfer Reflective Tape – Silver White
$52.00
In stock
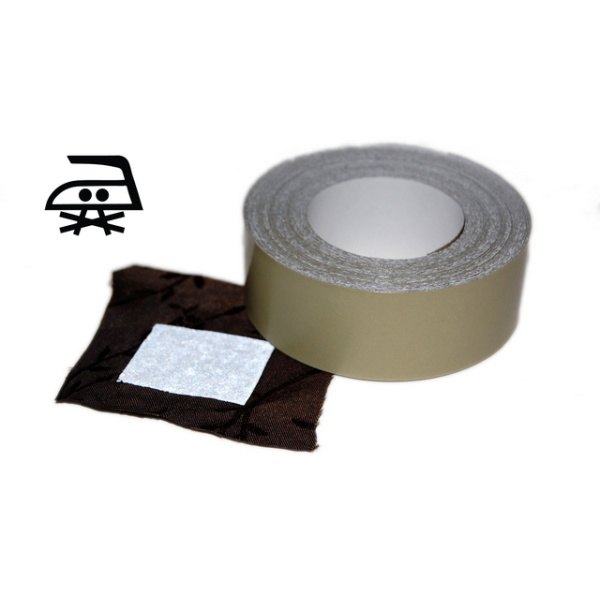
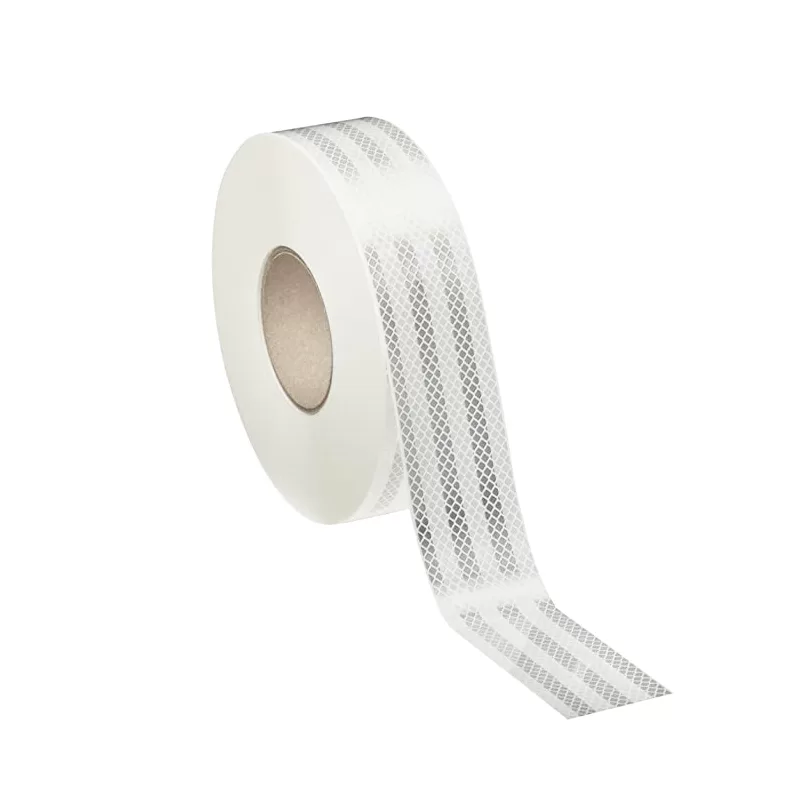
1″ x 45 feet 3M® HEAT TRANSFER (Iron-on) REFLECTIVE TAPE
Fluorescent Silver (brightness = 500 Cd/Lux/sq.m.)
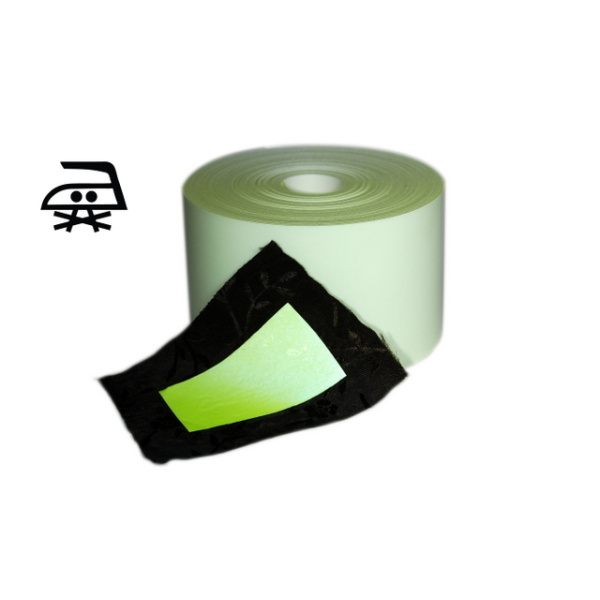
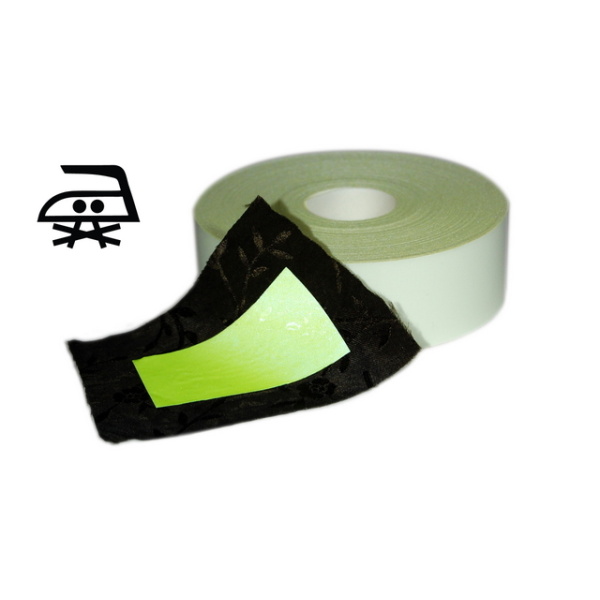
Available in 3 Colours (3M 8710, 3M 8786, 3M 8787) in 1-inch and 2-inch widths for T-shirts, work clothes, jackets, and running & bicycling outfits.
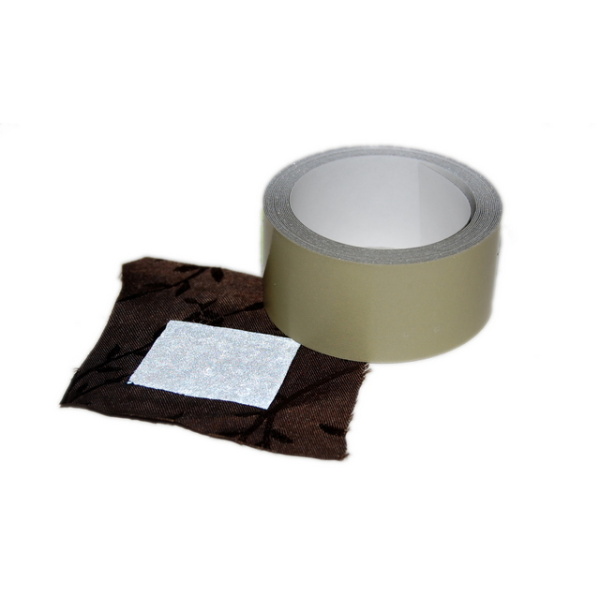
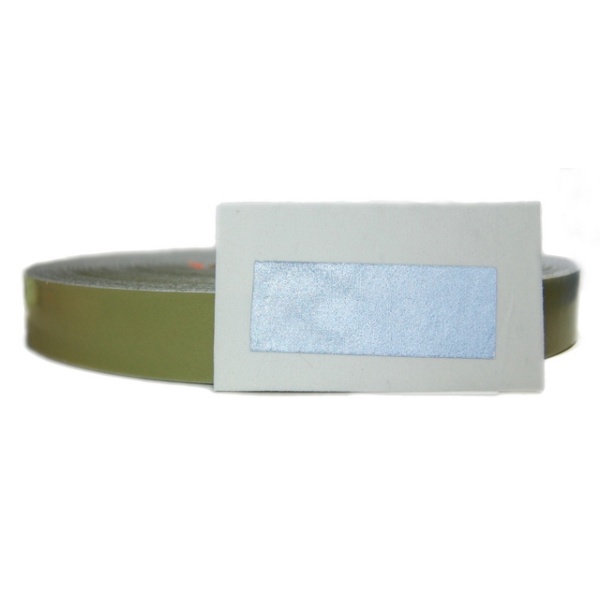
3M heat-transfer (iron-on) silver tape reflects bright white at night.
Fluorescent colours are not as bright but offer great daytime conspicuity in foggy conditions.
These tapes are absolutely great for T-shirts and can easily be cut into shapes and stripes and be arranged to form patterns and images.
They are easily die-cut with common die-cutters shapes found at craft stores.
3M heat-transfer tapes bond exceptionally well to nearly any porous or semi-porous material by penetrating into the fabric
(Note: May not bond well to waterproof material – see instructions and also specifications)
They stretch with the material and are so light weight you’ll barely feel their presence, and they are home machine washable (105ºF) and dryable.
3M silver exceeds ANSI Level 2 standards (500 Cd/Lux/sq.m) for reflectivity.
For clothing that is too bulky or heat sensitive to apply heat-transfer tape to, see our 3M 8850 adhesive reflective tape for clothing and personal safety use.
Instructions for 3M® Heat Transfer (Iron-on) Retro-Reflective Tape
3M® heat transfer reflective tape can be applied to any porous or semi-porous material – as long as it can withstand the heat of application.
It can be applied to leather, but heat may reduce the sheen of shiny leather.
The tape should be applied using a “dry” iron set to a medium to medium high temperature (325ºF to 375ºF).
Be certain to wait several minutes to let the iron’s temperature equalize across it surface.
On silver tape, the brownish coloured liner on one side is only a protective film and must be removed before application (fluorescent colours have no liner over the bonding side). The white paper side should face up – it is a protective layer that should only be removed when the tape has cooled completely.
Iron a trial piece of tape onto a sample or inconspicuous part of your material to get the hang of it.
Use a solid (non-gridded and non-perforated) ironing board or other surface like the top of a dryer or a wood board (a 1″ x 6″ can be inserted into sleeves).
To begin, iron your material to remove wrinkles. Cut and lay out the tape where you want it to be.
Starting at one end, press the iron down very firmly on the white paper side and heat the tape for 10 – 12 seconds, work your way along the tape toward its other end.
Heating longer than 15 seconds at any one spot may scorch the material (be extra careful with nylon).
Once the tape has completely cooled, you may peel off the white protective paper.
To see the tape’s reflectivity, place the item in a dim or dark room, stand 15′ away, and shine a flashlight (held near the level of your eyes) at the tape.
You will see a bright white reflection caused by thousands of microscopic glass beads imbedded in the surface of the tape.
These beads reflect light directly back toward its source (retro-reflection).
In this way, an automobile’s lights will make you conspicuous to the driver long before you can otherwise be seen.
This tape is machine washable up to 105ºF (warm) and can be machine dried, however, to maximize its life, we recommend washing on gentle cycle and use of a low temperature dryer setting, or line drying.
| Weight | 0.12 kg |
|---|---|
| Dimensions | 4.00 × 4.00 × 1.00 cm |
Related products
3M Safety & Reflective Products
3M Safety & Reflective Products
1″ x 10′ 3M 6160R High Gloss Vinyl Trim Sew-On – White Zig Zag
Safety - Reflective Sew/Iron On Fabric
2″ x 3′ Reflective Safety Fabric – 6755 SOLAS Marine Sew-On Silver
3M Safety & Reflective Products
2″ 3M 8787 Heat Transfer (Iron On) Reflective Tape – Fl Yellow
Safety - Reflective Sew/Iron On Fabric
3M Safety & Reflective Products
Safety - Reflective Sew/Iron On Fabric
Safety - Reflective Sew/Iron On Fabric
